Meet the newest member of our family: Mochi! Yes, being the Japanophile that I am, I had to name my dog after a Japanese sweet.
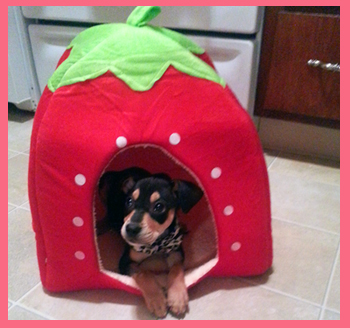
Mochi is an adorable beagle terrier mix that we adopted a few weeks ago. Unfortunately, two days after we took her home, we had to return her! She was so sick she couldn’t even move, and after talking with the adoption agency we found out that Mochi had parvo. (The whole litter had it, not just Mochi, so no, it wasn’t our fault!) For those of you who have never had a dog, parvo is a very serious disease that will kill a puppy if left untreated, and even with treatment they still don’t always make it. Needless to say, it was a very stressful couple of days! And after literally holding her for two days straight, I already loved her, so seeing her seizing in my arms and there being nothing I could do was one of the scariest moments of my life.
After waiting for over a week, we finally got the call from the adoption agency we were waiting for: Mochi made it through! I thought I would make some of her namesake to celebrate her coming home, so here is a dark colored mochi recipe, just like her!
If you’ve never had mochi before, it is a sweetened rice dumpling. They can have filling inside or be plain, and various forms and flavors. It has a unique texture somewhere between a super dense marshmallow or a really soft gummy bear.
Since it is a very traditional dish, it requires some traditional ingredients. Mochi is made with a rice flour, which can be a hard ingredient to come across unless you have an ethnic grocery store around. If you can’t find it, you can try make your own by grinding short grain glutenous rice in a spice grinder or blender. All you need to do is find glutinous rice and blend it super fine, but I will show you how to make rice flour in the future, so stay tuned!
I have seen mochi made both on the stove and in the microwave. Although I think the texture is a lot smoother making it on the stove, I wanted to show you the easier method in the microwave in order to increase your chances of success! I love adding filling to the inside of my mochi, but it can be challenging since you have to work quickly. Once the dough cools it’s over, so practice makes perfect! If adding the filling is too hard, you can leave it out! Just cut the dough into 12 pieces, roll into balls and let cool.
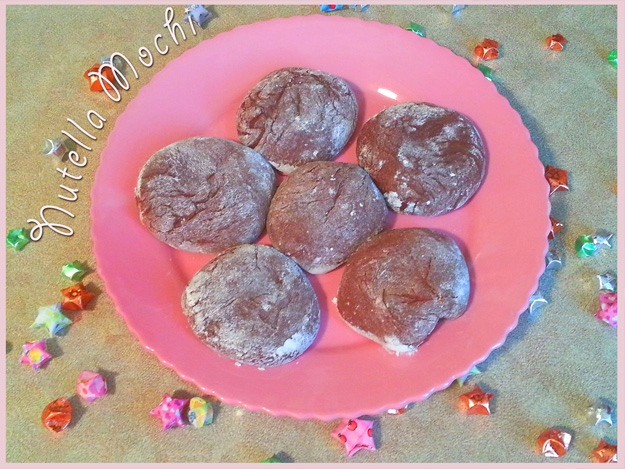
Recipe – Easy Nutella Mochi :
– Add the mochiko, 1 tablespoon corstarch, sugar, 2 tablespoons nutella, and water into a microwave safe bowl. Stir the ingredients together until they are well blended.
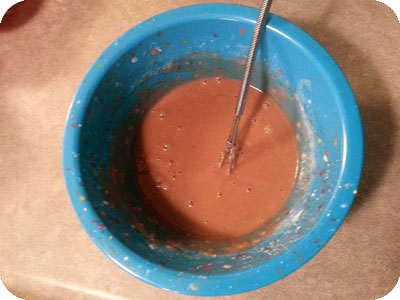
– Microwave the mixture on high for one minute. Take the bowl out of the microwave and stir the dough. It should start to be solidifying, but may still have liquid to it.
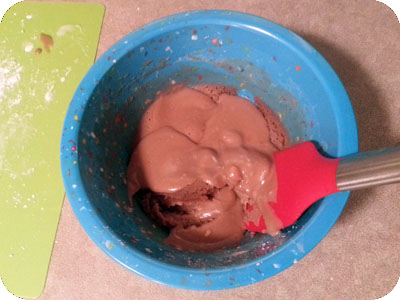
– Depending on your microwave, you may have to heat it a few more times before it reaches the consistency you want. Keep on microwaving the dough for 30 second intervals until the dough easily forms a ball in the bowl. For me, it took 2 minutes total.
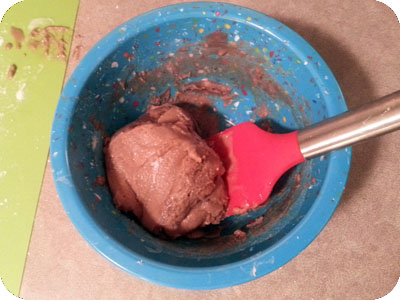
– Lightly flour a surface with cornstarch and place the dough on the surface. Roll the dough around in the cornstarch until it is evenly coated. This will make the dough much easier to handle!
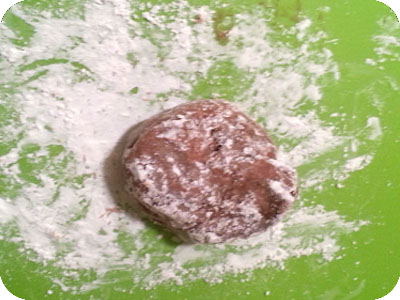
– Cut the ball in half, then divide each half into 6 equal portions. You should then have 12 pieces total.
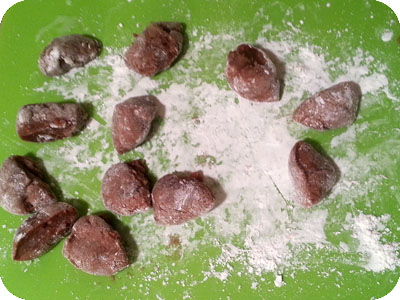
– To form each mochi, roll the dough into a flat disk. If the dough is hard to handle, cover it with a little more cornstarch. Use your fingertips to press the dough out on the edges of the disk. It should look like a little hill when finished. When we fold the dough to create the filling, we will have a lot of dough on the folded part, so we flatten the edges to keep the filling more evenly distributed in the middle of the mochi.
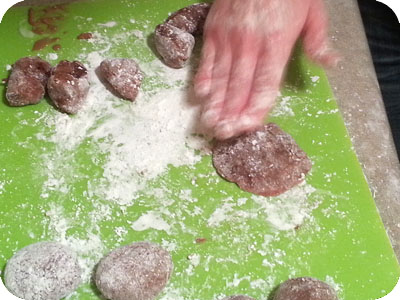
– Add 1 teaspoon of nutella to the middle of the dough.
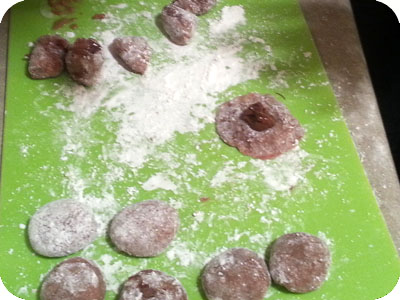
– Carefully start folding over the dough around the nutella. Start on one side, then bring in little sections of the dough at a time, pinching them together to form a continuous fold.
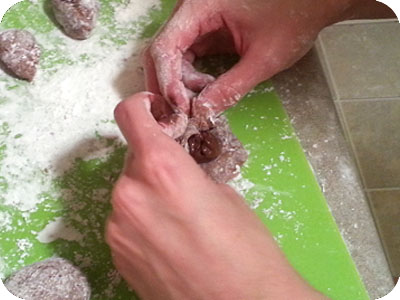
– When you’ve made your way completely around the nutella, you may have a little hole in the top with nutella peeking out. Gently use your fingers to pinch the top part of dough together, completely sealing in the nutella. Flip the mochi over so the seam side is facing down and let cool. As it cools the dough will settle and completely seal folds you made.
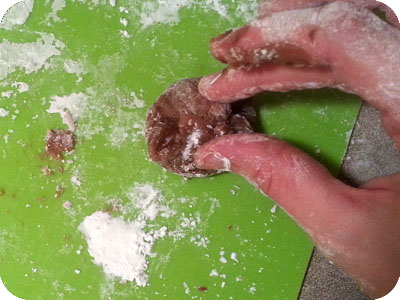
– Repeat the process with the remaining dough.
Homemade mochi will keep for a couple of days in the fridge, but the longer it sits the more moisture the dough will pull out of the filling, so they always taste the best freshly made!
Discuss and Share