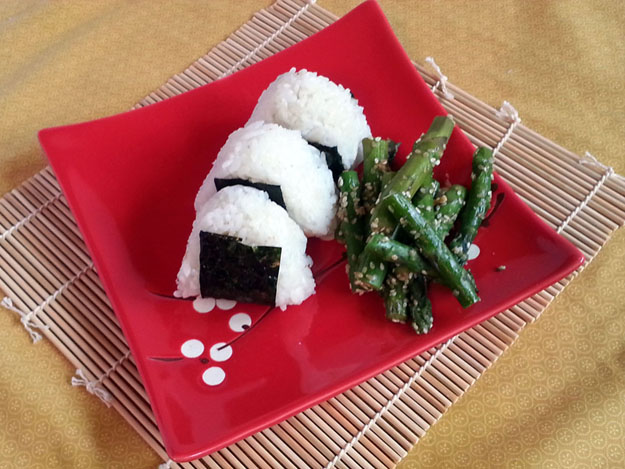
Onigiri are a classic Japanese rice dish. They can stand on their own as a complete meal, be included in a bento or other meal, or even be eaten as a tasty snack! They can be plain, filled, grilled, or any combination, and the filling possibilities are only bound by your creativity. They are a simple dish that even kids will love, and they are a great way to enjoy rice!
Not sure what to put in your onigiri? Popular fillings include:
- pickled plum (umeboshi)
- salted salmon (shiojake)
- pickles (tsukemono)
- bonito flakes with soy sauce (katsuobushi)
- salty kombu seaweed (shio kombu)
- rice seasoning (furikake)
- japanese fried chicken (chicken karaage)
- tempura
- ground meat flavored with whatever you like, such as ginger, soy sauce, pepper, sake, etc.
- canned tuna, plain or flavored with mayo, soy sauce, etc.
- you can even mix it up and use fried rice!
Recipe – Onigiri Rice Balls:
(For the photos I’ve made my our favorites, 4 salted salmon and 2 pickled plum)
The key to making great tasting onigiri is using fresh, warm rice, and using wet hands. As you handle the rice, the starch will stick to your palms, which will cause the rice to stick to you! Wet your hands often, and only handle them enough to get them into shape.
– While the rice is cooking, prepare your fillings. Remove the pits if using plums, cook the meat if needed, chop vegetables, etc.
– Once the rice is cooked, place it on a cutting board to let cool slightly. Once it is cool enough to handle, flatten it out into a rectangle and divide the rice into 6 portions. Place the desired fillings on the top of each portion to make it easier to shape them.
– Wet your hands, and if desired lightly cover them with salt. Pick up one portion at a time and gently cup the rice around the filling.
– Keep cupping the rice around the filling until it is completely covered.

– Once you’ve gotten it shaped into a ball, we are going to mold it into the iconic triangle shape by placing the bottom on one palm and bringing up our fingers to flatten the back. With the other hand, press the rice into a triangle on your palm and flatten the front side too if needed. You want the rice to be firm, but not squished, so don’t press it too hard.
 – Once you have your triangle shape, place a strip of nori on the bottom to make it easier to pick up, and repeat with the remaining rice.
Shaping them can take a little practice, so don’t be discouraged if they aren’t pretty triangles. Onigiri can come in any shape, even a ball, so as long as they hold together, it doesn’t matter too much how they look! You can even buy onigiri molds online if you want to have perfectly uniform onigiri.


Discuss and Share