Tender strawberries covered in sweet anko and wrapped with a delicate mochi skin, this wagashi classic perfectly highlights fruity, juicy flavor of spring!
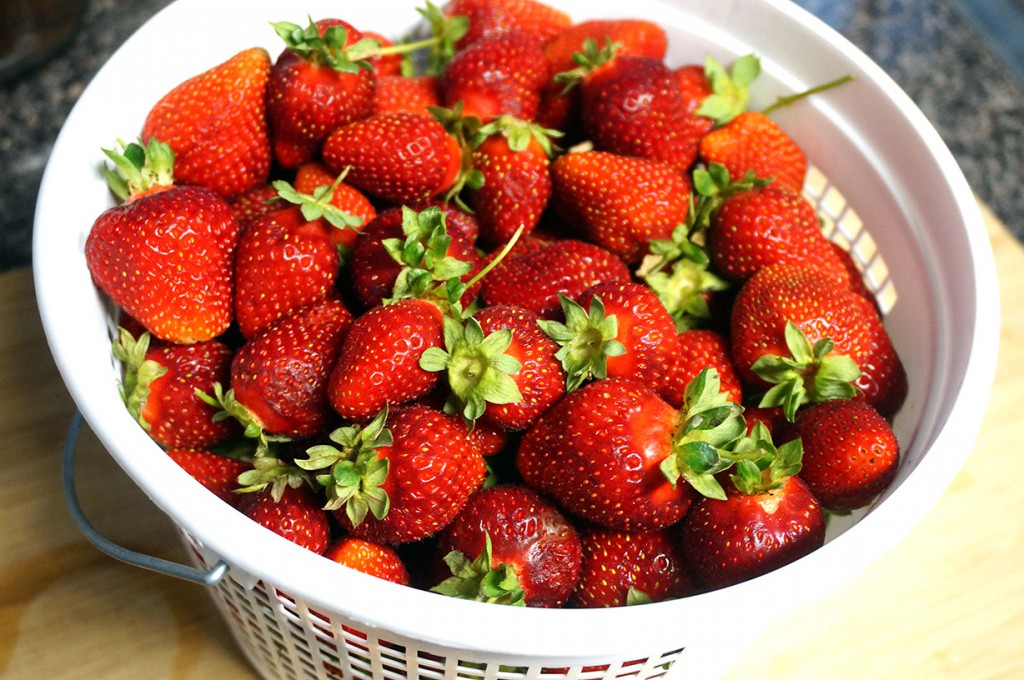
Anyone else excited about berry season? My husband and I thought we’d enjoy the season a bit and went to a local strawberry field last weekend. If you’ve never picked your own produce before, I’d highly recommend it. It’s in the Japanese spirit of food to use local, seasonal ingredients to cook with, so anytime we can get food near us, we jump for it! It was so hard not to eat the strawberries right then in there, but I ended up heading home with a huge basket of deliciousness! What was I to do with them? Celebrate their flavor, Japanese style of course!
Daifuku itself is a popular sweet. It’s really just mochi with red or white bean filling, and it can have a variety of flavors added inside as well. The most popular type abroad is strawberry flavored, and for good reason, it’s delicious!
Chocolate covered strawberries are delicious, but they’ve got nothing on mochi! Fresh mochi is a flavor that just can’t be beat. It can be difficult (aka messy!) to make, especially the first few times you try, but it doesn’t have to be perfect to taste great! Don’t get discouraged if the anko gets all over the place, it just takes practice. Which really just means you get to eat more of them! It’s a win win, right? And if you want to leave out the anko, just strawberry and mochi is delicious as well.
You’ll be surprised at how quick these mochi come together, but do keep in mind the mochi is set once it cools, so you have to work fast to make sure the mochi dough stays flexible. I wouldn’t recommend making a whole lot at one time, just work in small batches to make it easier on yourself!
Unlike chocolate covered strawberries, which tend to get juicier over time and have a cordial filling after a day of sitting, these mochi will harden, especially the anko, as it pulls the moisture out of the fruit. Although most mochi will last a few days tightly sealed, these are best eaten fresh, or at the very latest within 24 hours. But that just means you have to eat them, so they won’t go to waste!
Recipe – Strawberry Daifuku Mochi:
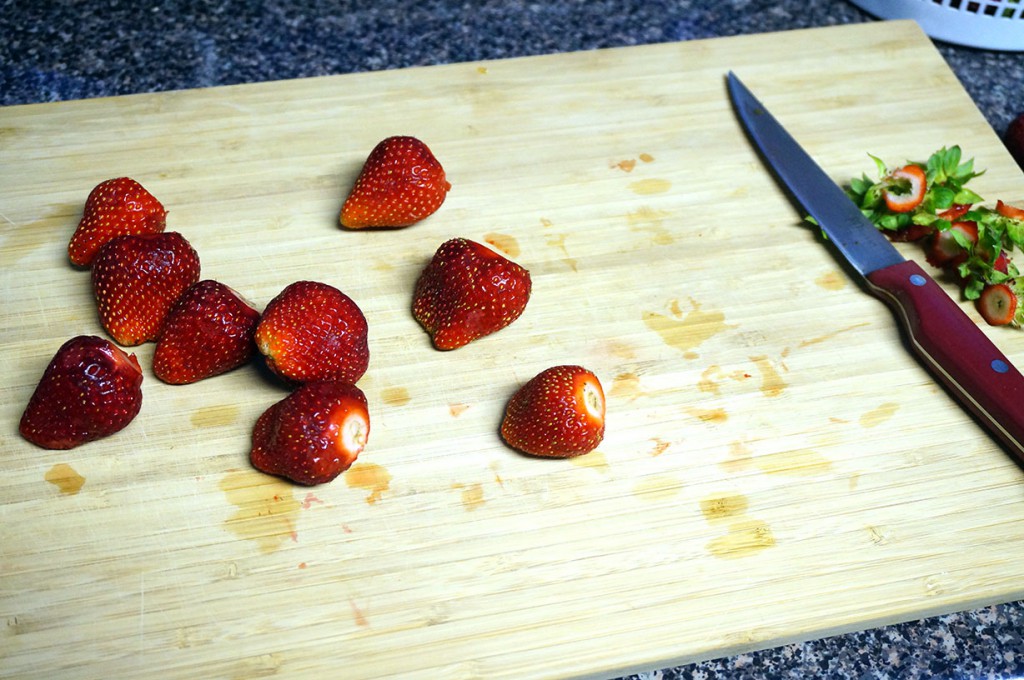
– Prep your strawberries by rinsing them off and removing their leaves.
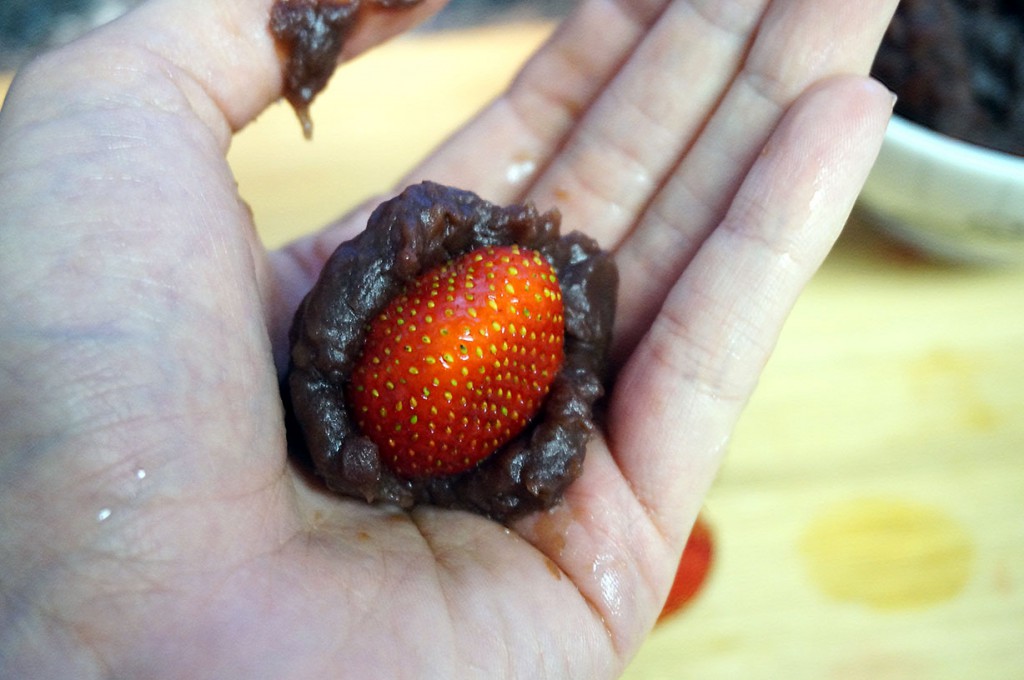
– With wet hands, gather a spoonful of anko and gently press it around the strawberry. The anko will be sticky, so it’s a messy process. I find it easiest to flatten the anko out into a disk in my hand and make an indentation in the middle for the strawberry. Then press the strawberry into it and gently wrap the anko around the rest of it. Rinse your hands between each strawberry to help with stickiness.
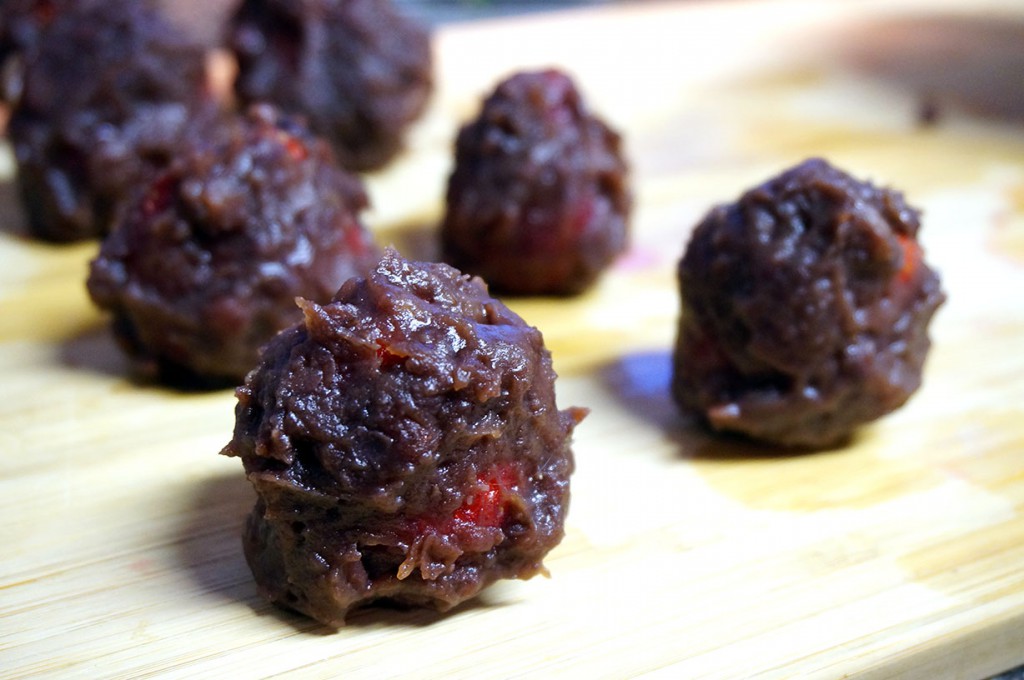
– When you’re done, you will have a bunch of strawberry balls:
– Mix the shiratamako, sugar and water in a microwave safe bowl. Stir to combine, then microwave for 45 seconds. Stir, then continue to microwave for 45 second intervals and stirring until the mixture is no longer liquid.
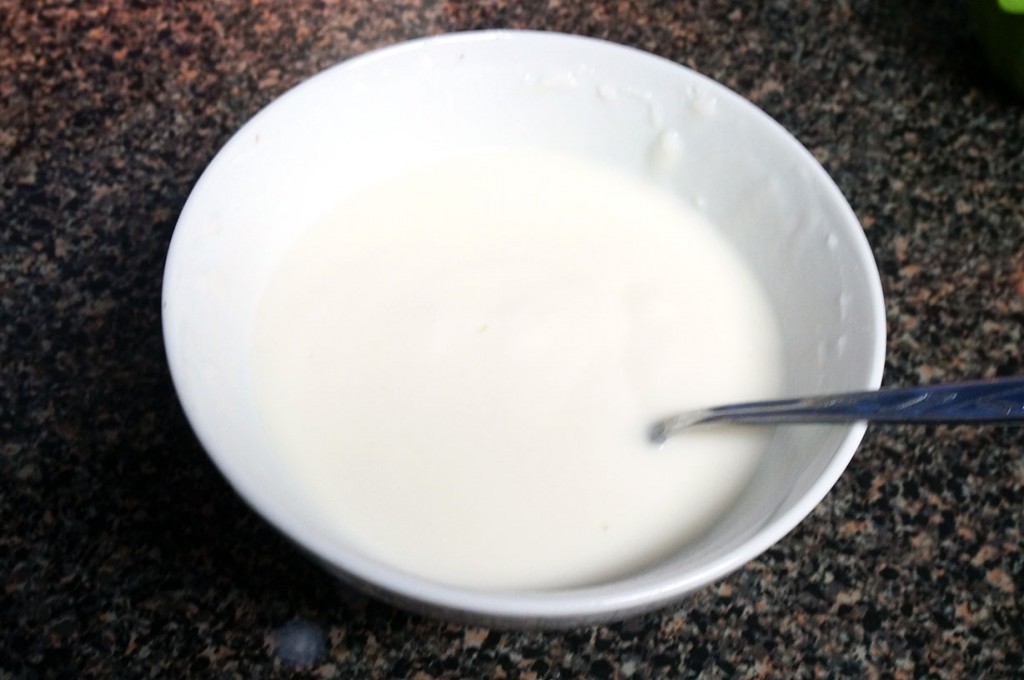
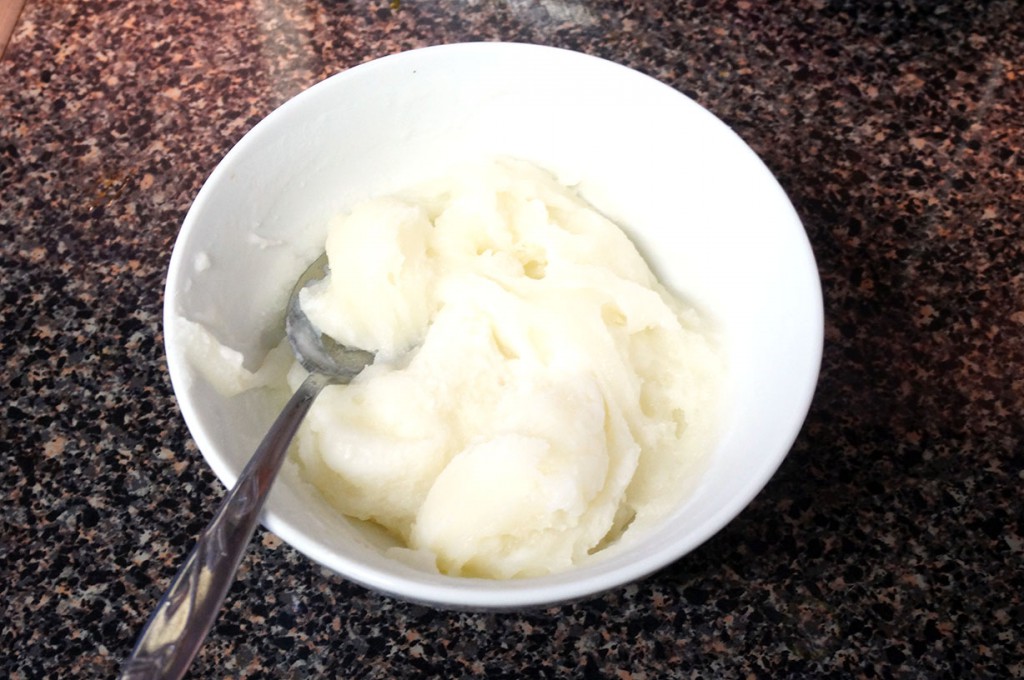
– The mochi is done when it has clumped and has a firm texture. Depending on your microwave, it should take 2-3 minutes.
– Lightly sprinkle your counter with cornstarch, then place the mochi dough on the table.
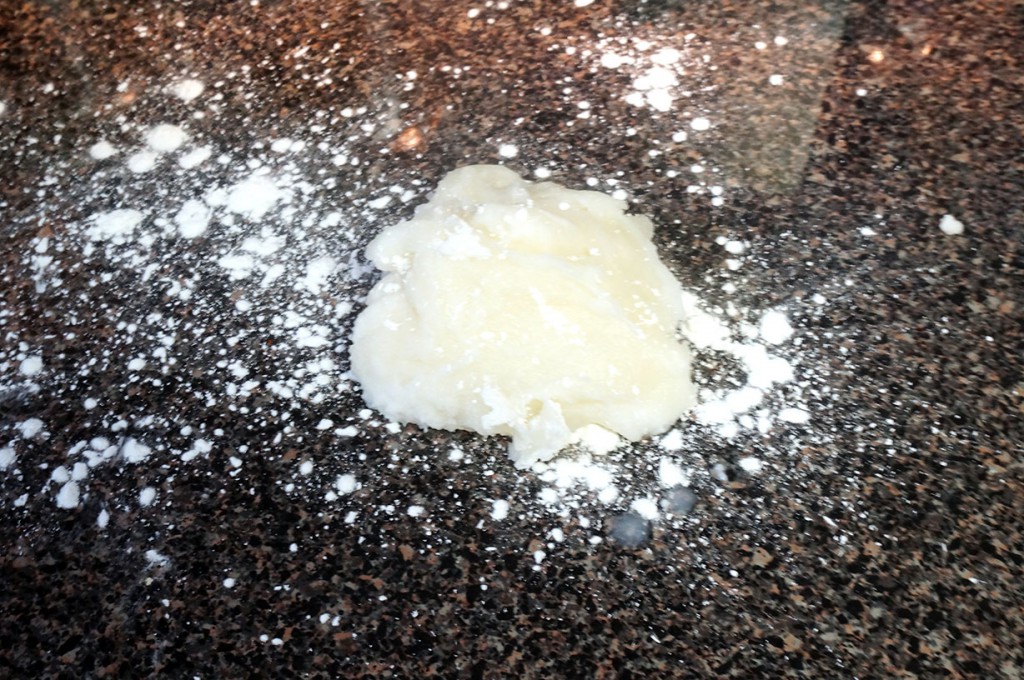
– Dust the mochi as much as needed to be workable, then use a sharp knife to cut the mochi into 8 equal pieces. It may help to dust the knife with cornstarch as well to keep the mochi from sticking.

– With lightly dusted hands, take a piece of mochi and spread it out into a flat disk. You want to make sure it’s wide enough to cover the strawberry at this point, since it’s difficult to stretch the dough when the strawberry is added!
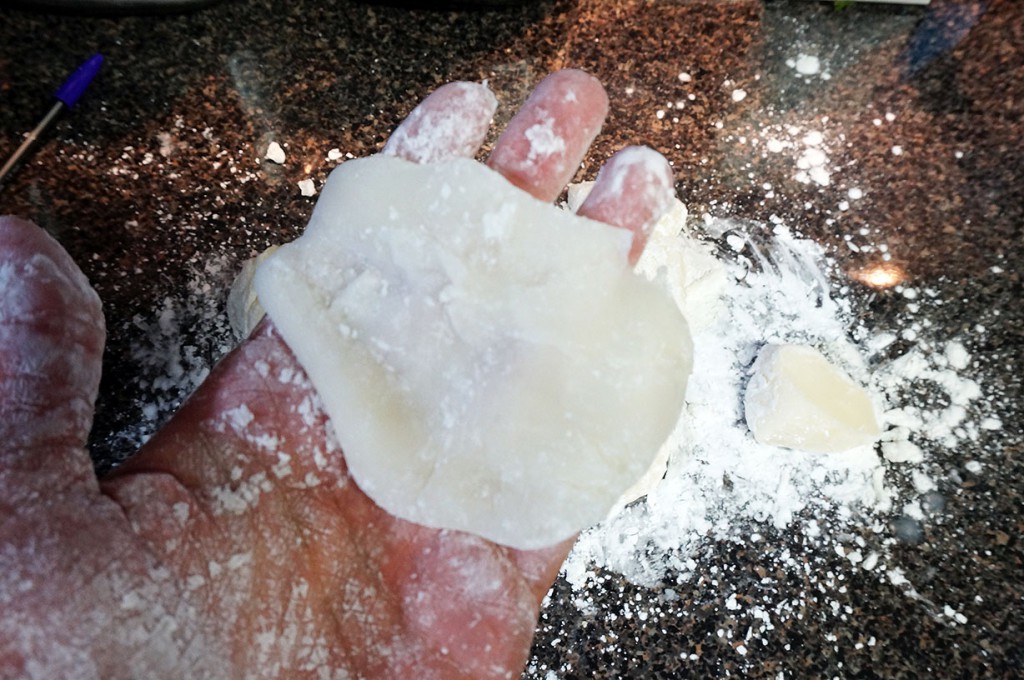
– Place the strawberry in the middle of the disk, then take the edges of the dough and gather them up at the top.
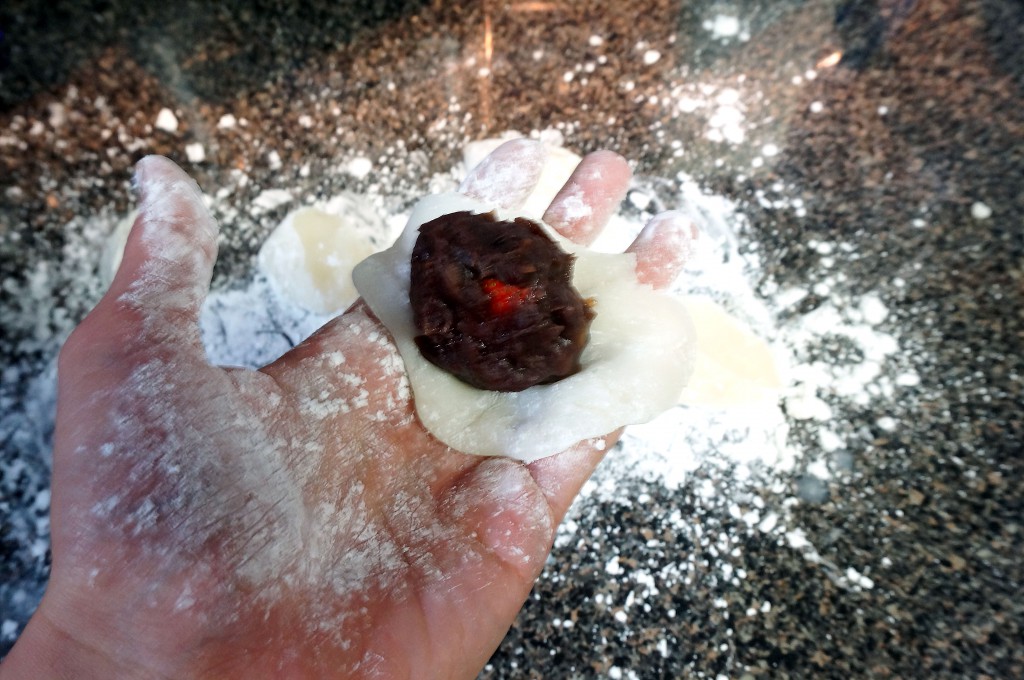
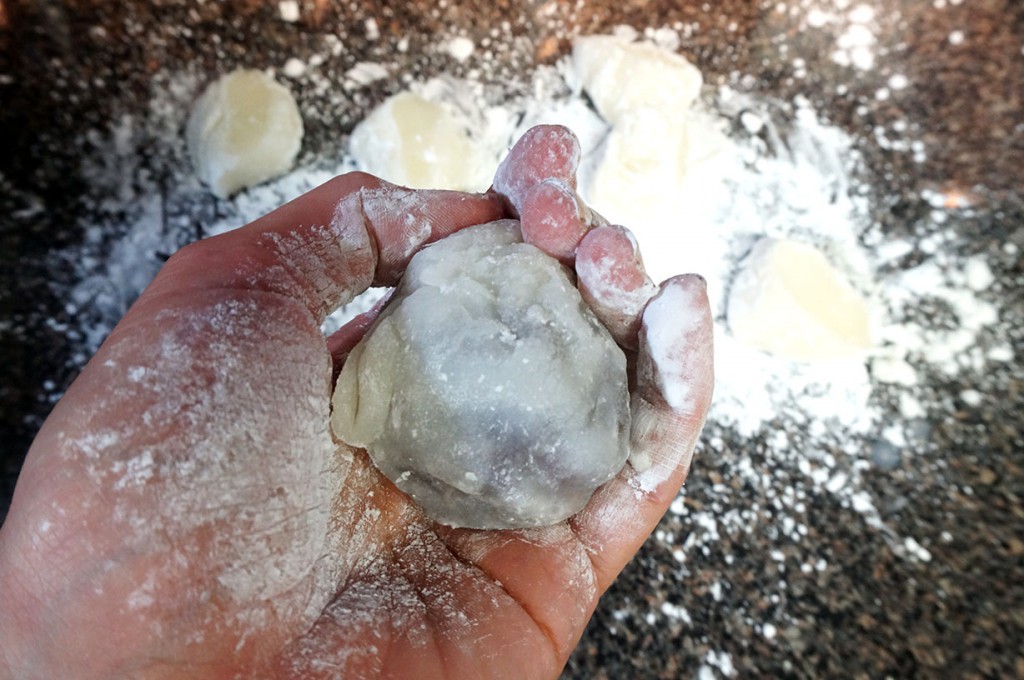
– Once the edges have been gathered, set the mochi on a dusted surface seam side down so the heat and weight will seal the mochi closed. Repeat the process for the remaining strawberries.
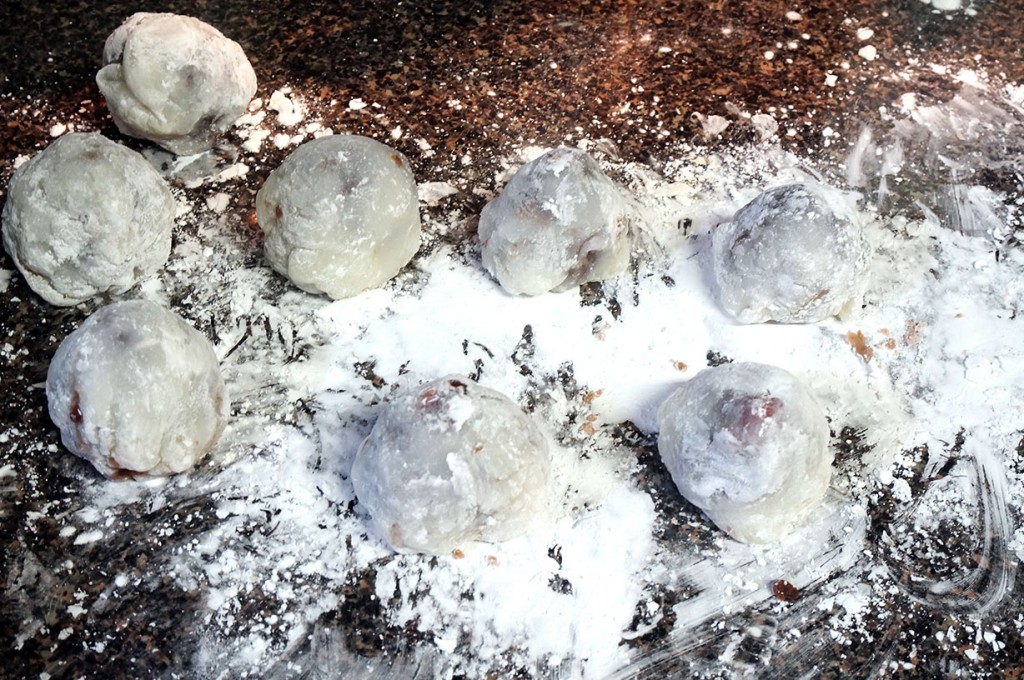
– The mochi are ready to eat once cooled.


Discuss and Share